Deploying a Local Docker Container to Azure Container Registry (ACR)

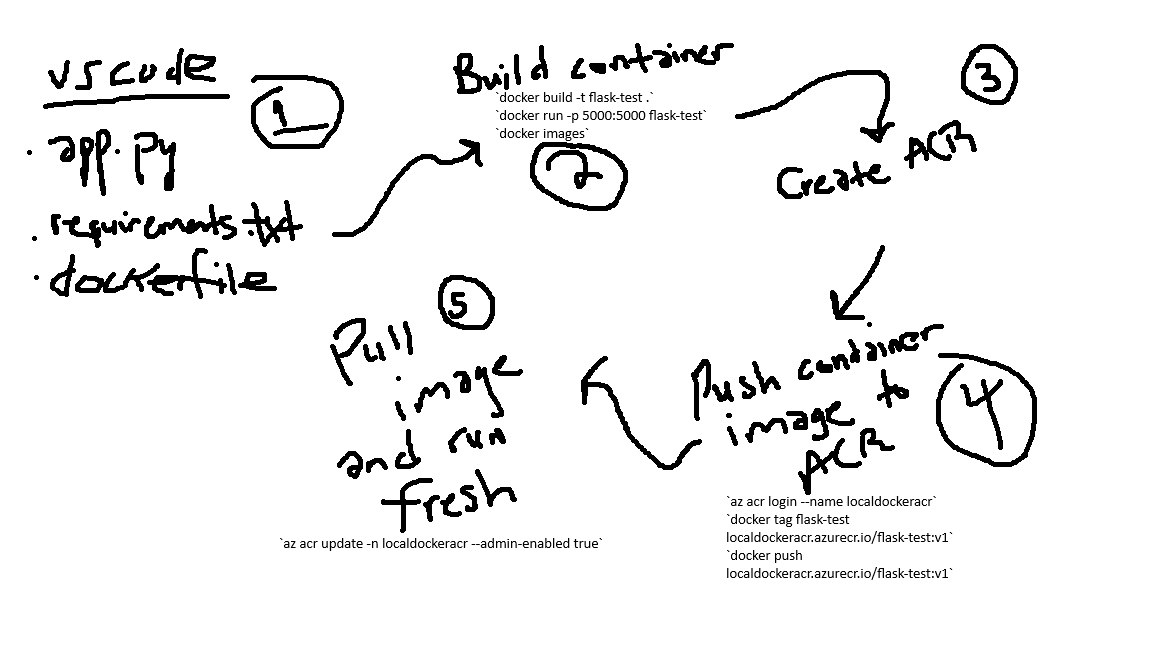
I was doing some practice on creating containers utilizing Docker, and I was actually quite relieved because it was a lot less intimidating than I believed. I was able to create a simple Docker container and push it to Azure Container Registry. Below is a step-by-step guide on how I did it.
1. Setting Up the Directory
-
Create a directory to hold all your program files and dependencies. I named mine
localcontainer. -
I used ChatGPT to generate a simple Flask web app to test the container's functionality. Normally, this code would go in
app.py(or whatever your entry file is depending on your language). -
Add all required modules to a
requirements.txtfile. -
Create a
Dockerfile— this file tells the container what to install, configure, and run.
2. Building the Docker Image Locally
-
Build the Docker image:
docker build -t flask-test . -
Verify the image exists:
docker images -
Run the container locally to test:
docker run -p 5000:5000 flask-test
3. Create Azure Container Registry (Using Azure CLI)
-
Log in to Azure:
az login --tenant <tenant-id> -
Create the ACR:
az acr create --name <acr-name> --resource-group <resource-group-name> --sku Basic -
Enable admin access to allow Docker push/pull:
az acr update --name <acr-name> --admin-enabled true
When it comes to enabling admin access, it's okay to do it in a lab environment but service principals are safer.
4. Push Image to ACR
-
Login to ACR:
az acr login --name <acr-name> -
Tag the Docker image:
docker tag flask-test <loginserver>/<repository>:v1 -
Push the image to ACR:
docker push <loginserver>/<repository>:v1 -
Verify it was pushed:
az acr repository list --name <acr-name> --output table
az acr repository show-tags --name <acr-name> --repository <repository> --output table
Notes
-
Make sure Flask is listening on
0.0.0.0:5000. -
If deploying to Azure Container Instance (ACI), ensure port 5000 TCP is enabled.
Quick Command Recap
docker build -t flask-test .
docker images
docker run -p 5000:5000 flask-test

az login --tenant <tenant-id>
az acr create --name <acr-name> --resource-group <resource-group-name> --sku Basic
az acr update --name <acr-name> --admin-enabled true

az acr login --name <acr-name>
docker tag flask-test <loginserver>/<repository>:v1
docker push <loginserver>/<repository>:v1

az acr repository list --name <acr-name> --output table
az acr repository show-tags --name <acr-name> --repository <repository> --output table